

Overview
This section outlines how to configure SurveyMonkey to use its v3 API.
Once your app has been created, any existing RPI SurveyMonkey channels must be re-authorized using the new Client ID and Secret. Re-using the same Client ID and Secret to create a new SurveyMonkey channel causes the previous channels to fail, as the previous access token will have become invalid. The recommended approach is to create a new SurveyMonkey app for the new channel.
Registering a SurveyMonkey App
-
In a browser, browse to https://developer.surveymonkey.com/ to login to your SurveyMonkey account.
-
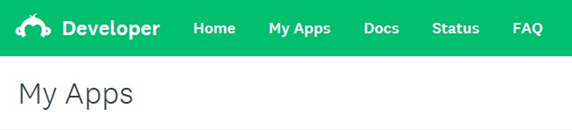
Click the My Apps tab.
-
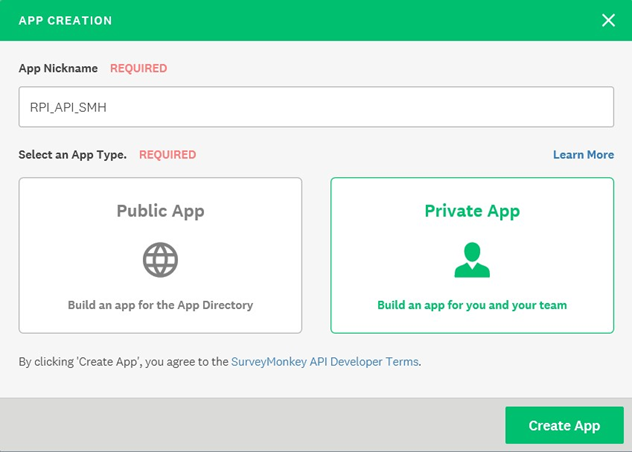
To create new App, click Add New App.

-
Enter the App Name and click Create App.
-
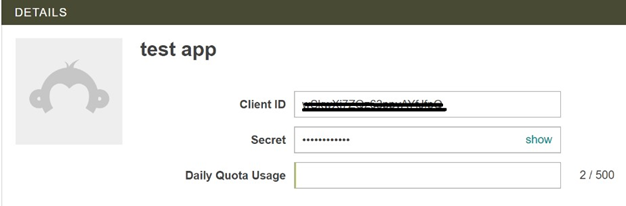
Once the App has been created, copy the Client ID and Secret values and store them securely. They are required when configure an RPI SurveyMonkey channel.
-
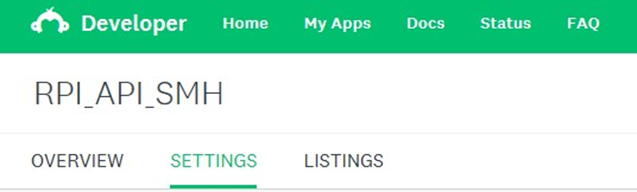
In the Application section, click Settings.
-
For testing purposes, make sure ‘Draft’ status is selected. If for production use, either ‘Public’ or ‘Private’ must be selected. Note that these require a paid account plan. Please contact SurveyMonkey support for more details.

-
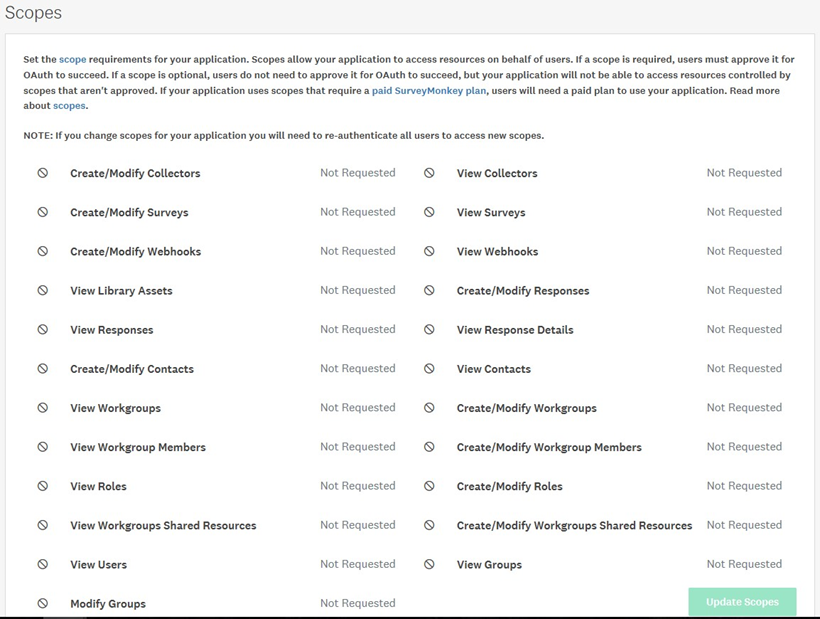
Scroll down to ensure all Scopes are unlocked.
-
To unlock a Scope, click the icon.
-
Click Update Scopes to save your changes.