

Support for this connector has been deprecated and will be removed in a future release. Refer to the Connector deprecation plan for details.
This section describes how to create and configure ac Splice Machine Data Source Name (DSN). Please follow the steps below. Please note that you may skip steps 1 – 3 if you have already installed the ODBC driver.
-
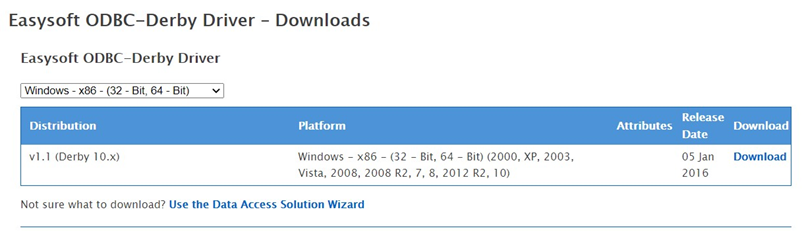
In a web browser, navigate tohttp://www.easysoft.com/products/data_access/odbcderby-driver/ - section=tab-1 https://www.easysoft.com/cgibin/productdownload.cgi?p=58http://www.easysoft.com/products/data_access/odbcderby-driver/ - section=tab-1 to download the driver.
-
In the download page, set Platform to ‘Windows - x86 - (32 - Bit, 64 - Bit)’ and proceed to download the driver.
-
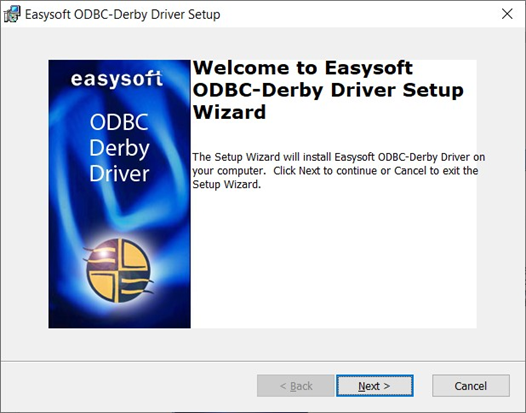
In the download folder, double click odbc-derby-1_1_0-windows.exe.
-
In the Easysoft ODBC-Derby Driver Setup Window, click Next and follow the required steps to install the driver.
-
Once you have successfully installed the ODBC driver, go to Control Panel\All Control Panel Items\Administrative Tools and click ODBC Data Sources (64-bit).
-
In the ODBC Data Source Administrator Window, click the System DSN tab.
-
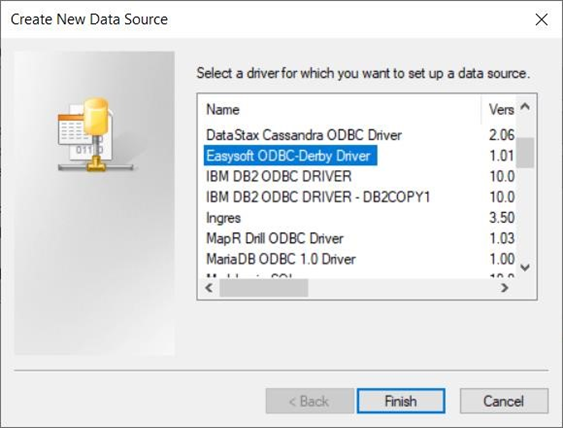
Click the Add… button to create a new Data Source.
-
Find Easysoft ODBC-Derby Driver and click Finish.
-
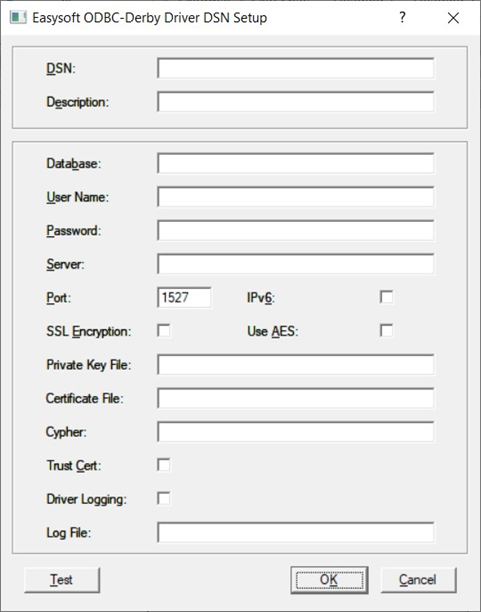
In the Easysoft ODBC-Derby Driver DSN Setup Window, configure the following details:
-
DSN: the name of the Data Source.
-
Database: the database name.
-
User: the database username.
-
Password: the database password.
-
Server: the host server (IP address or server name). o If the server is hosted in Amazon, use the EC2 DNS name, i.e.
‘ec2-xx-xxx-xxxxxx.compute-1.amazonaws.com’. -
Port: the server port number. Only numerical values are supported. The default server port is 1527.
-
-
Click the Test button. Once the connection has been made successfully, click the OK button to create the DSN.