

Creating a Project
This section describes how to create and configure Airship on Android Mobile and iOS Mobile. Please follow the steps below:
-
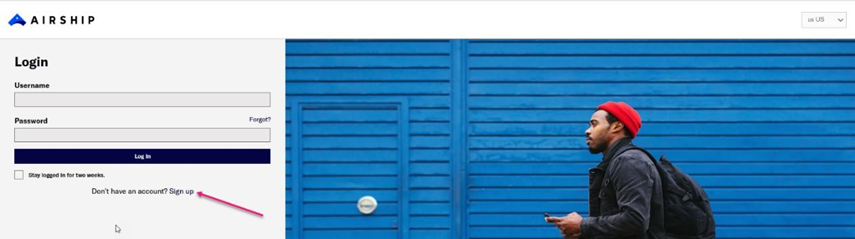
In a web browser, navigate to https://go.airship.com/ and click on Don’t have an account? Sign Up.
-
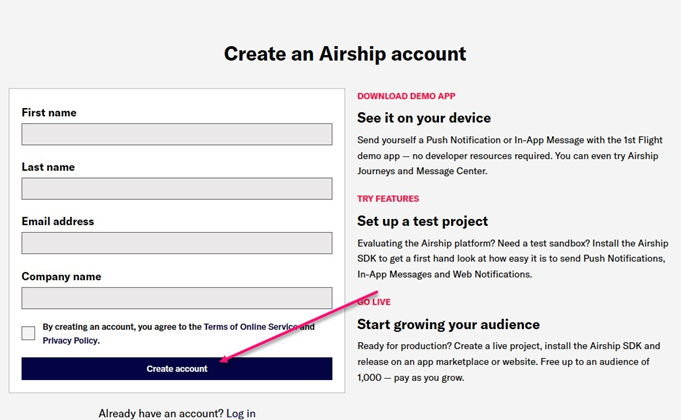
Fill out the required details and click the Create account button.
-
Check your email to verify account and click the link.
-
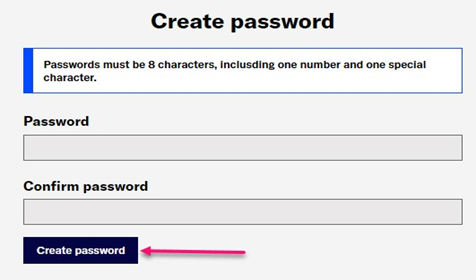
Fill out the required fields to Create Password.
-
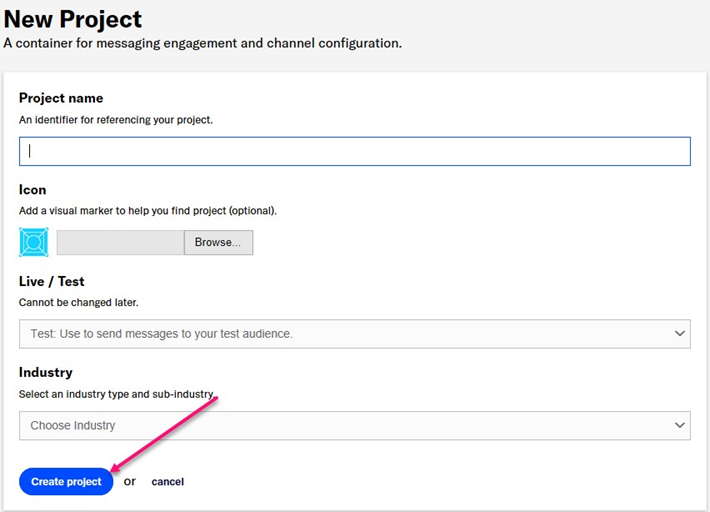
The New Project set up screen displayed. To get started, click Create a project.

-
Enter your project’s details and click Create project.
-
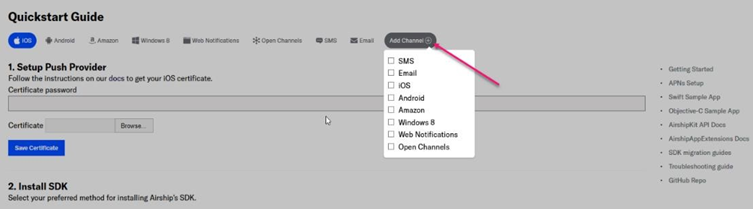
Click Add Channel and select the channels you want your project to support.
-
To get an App Key and Master Secret follow these steps:
-
Click 1st Flight Demo
-
Go to Settings » APIs & Integrations » Airship API.
-
Android & iOS Phone Configuration
After creating an account to receive push notifications on your mobile devices, please follow these steps:
-
In a web browser, navigate to https://go.airship.com/ and log into your account.
-
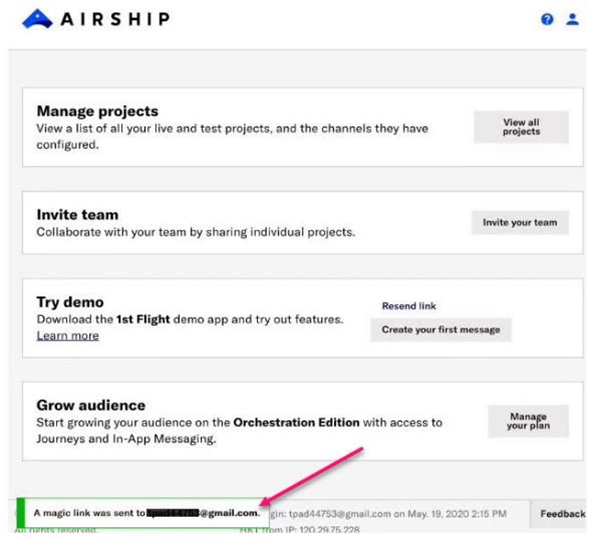
Click Download the app 1st Flight, then enter your email address and click Get Magic Link.
-
From your mobile device, check your Email and tap the message's link to download the app. Your device's app store will open at the Airship app.
-
Click Install 1st Flight App and open the app
-
Log into your account using your Airship username and password
-
Click Connect My App
-
For iOS mobile devices, tap Enable Push then Allow to receive push notifications For Android mobile devices push is automatically enabled so this screen will not appear.
-
-
To get a Named User and Tag, please follow these steps:
-
On your mobile device, click Push Settings » Audience » Named User » Tag
-
Add Named User and Custom Tag
-
-
To find a Device Token and Channel ID, please follow these steps:
-
Log into the Airship portal
-
Click 1st Flight App Demo » Audience
-
Click Device Token copy identifiers
-
Click Channel ID copy identifiers
-